Terms & Conditions
The Official Bike Seat
of Race Across America
added-box-1.png
individually hand-crafted

Will ship within one to two weeks

shipped-1.png
World-wide Delivery

We Ship to All Over The Globe

dollar-1.png
Quality Materials

Hand selected leather, custom-made frame and rails.

storefront-1.png
Made in California, USA

All our Seats are made here in Southern California.

Setup Instructions

Infinity Setup

BEFORE installing your Infinity Seat review Dr. Vince’s ABCs for the proper set up or for a more visual aid go to Videos and Tips.

Setup & Videos

Installing and/or Changing The Infinity Carbon Fiber Rails

How to Change and/or Install Carbon Fiber Rails
How to install Carbon Fiber Rails on Top Mounted Seat Posts
How to install Carbon Fiber Rails on Side Mounted Seat Posts

Dr. Vince’s ABC’s for your Infinity Seat Setup

Tools you’ll need:

1. Goniometer or your hand
2. Plum line or a power cord 
3. Your cell phone & a friend

1. First sit on your old bike seat before converting to your new Infinity Seat.

Step 1: Check Your Shoe Size
Step 1B: Check Your Shoe Size

Make sure your shoes are big enough with orthotics or foot beds.

Some cyclists have two different size feet. You might need to get two different size shoes to avoid any discomfort, numbness or neuromas.

If you just get bigger shoes then you are tightening the smaller foot and squeezing toes together as well as nerves and blood flow. If you buy a smaller shoe the big toe will receive trauma, and the possibility of losing toe nails and numbness with decreased blood flow.

Step 2: Check Your Foot Position
Step 3: Check Your Leg Length

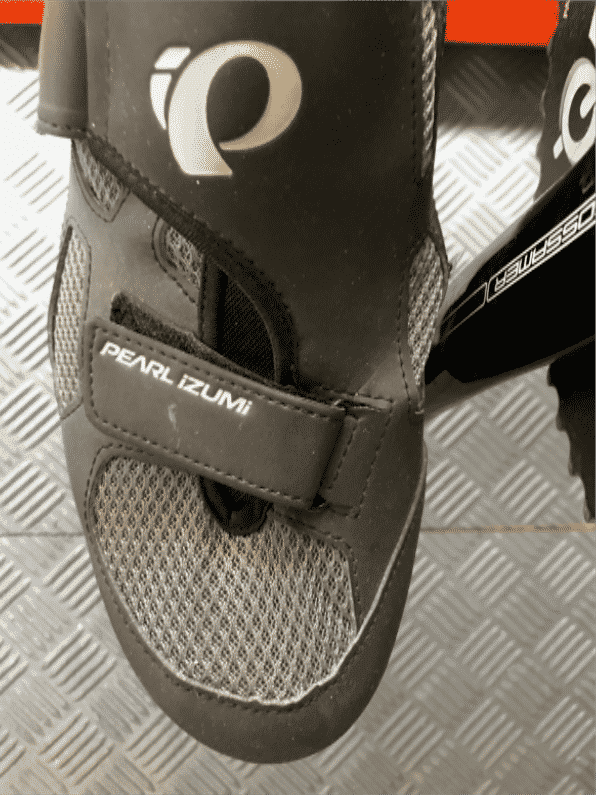
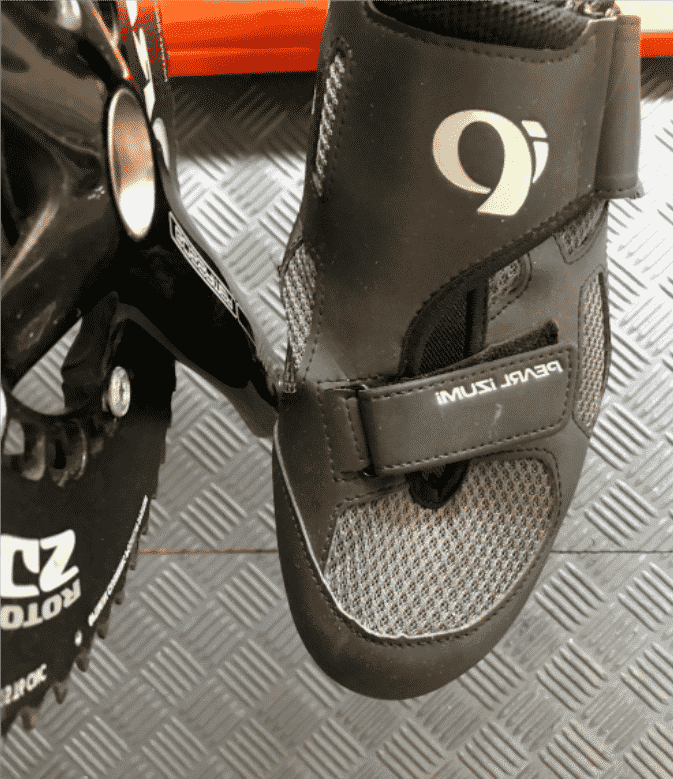
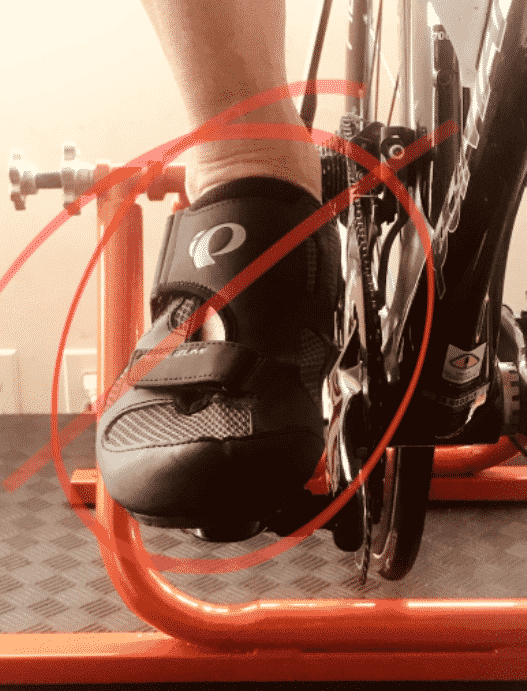
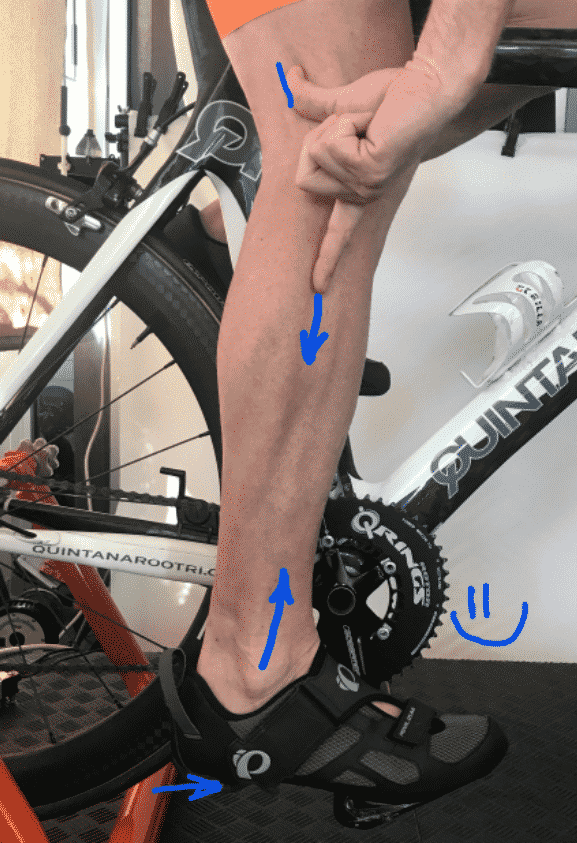
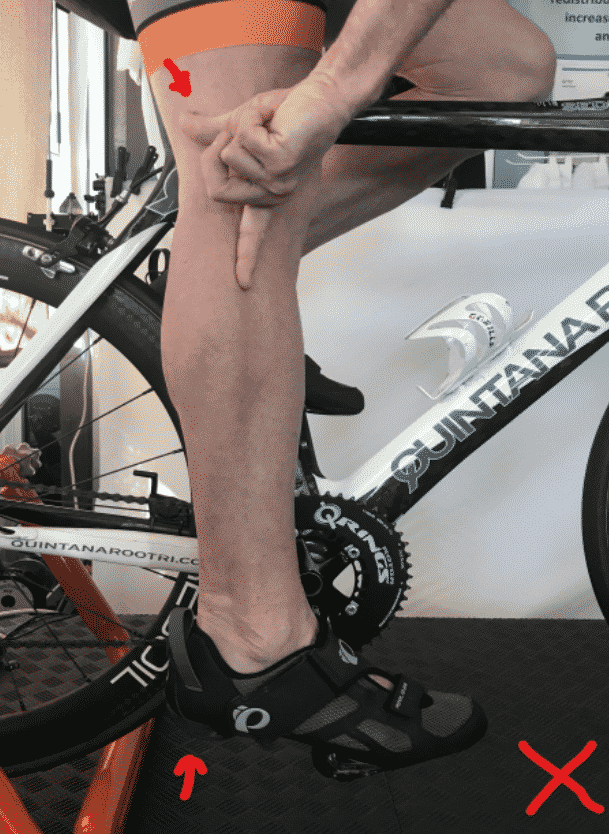
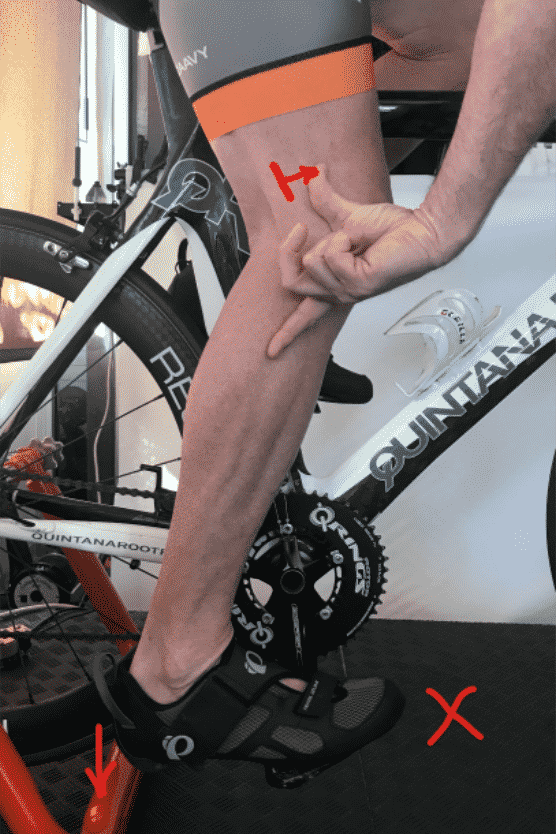
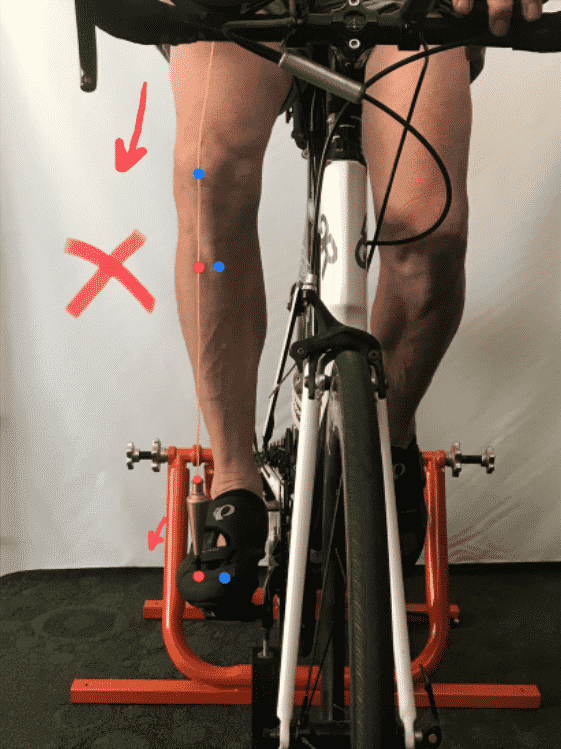
Have the widest inside part of the foot in front of the pedal spindle.

If the ball of the foot is too far forward you will drive power over the front of the pedal spindle resulting in pressure through the toes not the ball of the foot. If you are behind the spindle, you will feel tightness in the ankle joint. You may also feel knee and hip strain.

So some cyclists will try to resolve this problem by: 

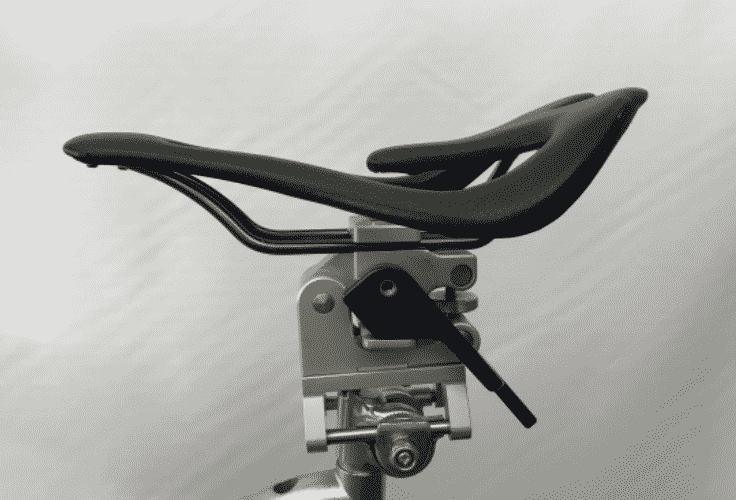
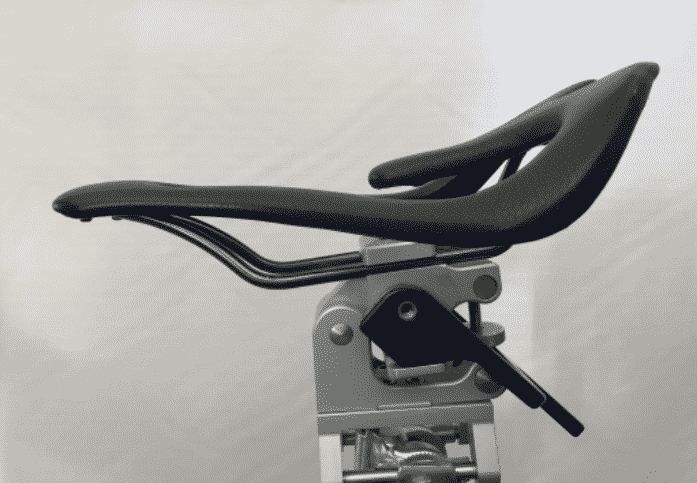
Raising the seat post will cause a new problem by increasing pressure on the soft tissue of the male and female anatomy. This leads to trying to resolve this problem by tipping or lowering the nose of the seat down. Now we created a new problem by increasing pressure into the hands, arms, shoulders, neck and even the butt. So we can see why Step 2 is very important. 

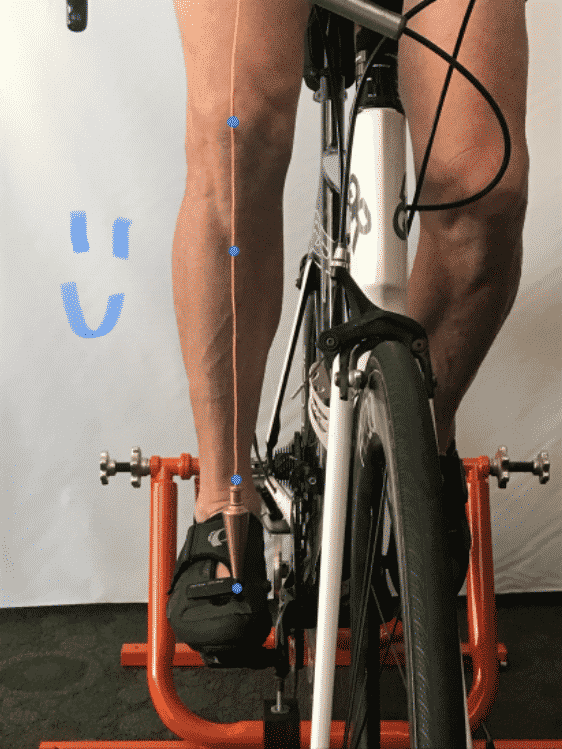
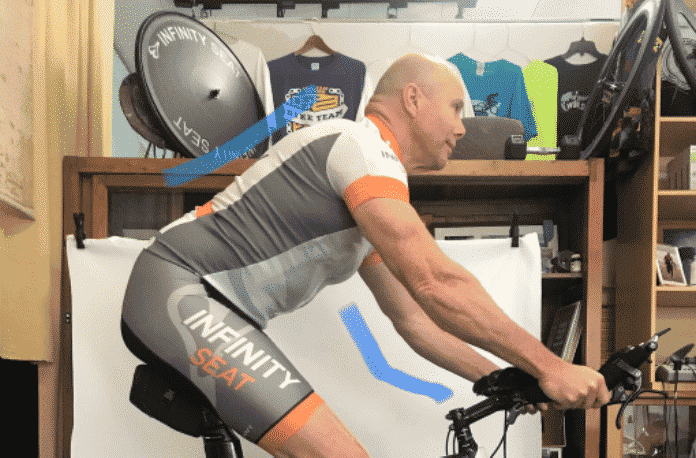
Have someone take a photo by standing directly over your feet with ankle bones together.

  1. Lay down on your back on the floor.
  2. Bring your knees to your chest and then back down to the floor.
  3. Have your ankle bones together, and toes pointed to the ceiling.
  4. Now have your friend take the photo directly on your feet.

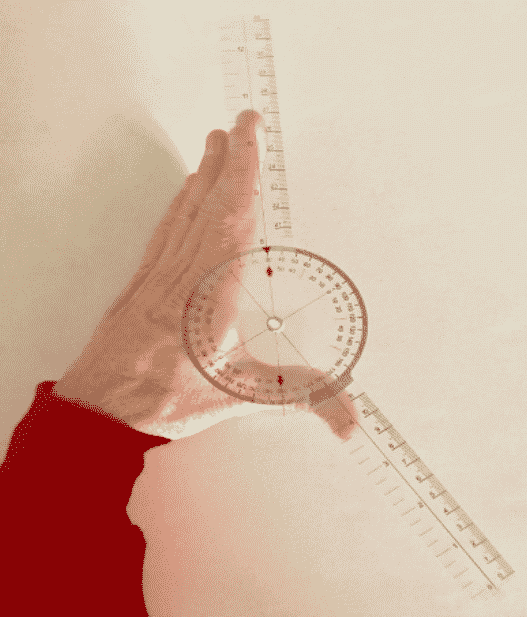
If you have a short leg that is the side to take the leg angle measurement from. This will be used in Step 5.

If you try to split the difference, the short leg will have to stretch to reach the proper pedal stroke. This will cause the pelvis to shift from side to side; resulting in chaffing and hot spots. Spacers between the cleat and shoe should only be used after a professional set of x-rays of both legs are done. This will give you the true and accurate measurements rather doing it by eye which leads to human error. In addition, by using a spacer the cyclist could have a list of new symptoms caused by trying to even or level the short leg side.
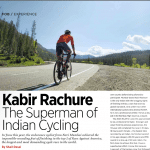
4. CHECK SHOE FLOAT DIRECTION
A.
B.
C.

If you were looking at a clock and your shoe was the second hand, your shoe float should be between 11:30 – 12:30 for the left and 12:30 – 11:30 for the right. This helps keep the knee close to the top tube and drives the power toward the front wheel.  This will cause less side to side motion which reduces chaffing and hot spots.

A. In photo A, this allows the cyclist to drive power through the spindle while standing and climbing as you are throwing your bike back and forth. The right pivots out to the 12:30 position, while the left pivots out to the 11:30 position.

B. In photo B, while sitting there is less side to side motion so the shoe float on the right is at about 11:30 while the left is at about 12:30. All the while helping the cyclist release the gluteus muscle to help with the kick before generating power in the downward stroke. This allows the knee to stay closer to the top tube. In turn reducing loss of power from side to side, ultimately increasing forward Power and Endurance.

C: The shoe float should not be 12:30 – 1:30 on the right, and/or 11:30 – 10:30. Some Professional Fitters have been taught adaptive fitting to what they consider normal/abnormal biomechanics. This could cause the knee to come away from the top tube resulting in more side to side motion. It then reduces your power from your forward momentum; which causes possible chaffing, and hot spots.  This can also lead to bursitis of the hip, and sprain and strain of the knee long term.

At Infinity we know why the body is showing these abnormal biomechanics. Dr. Vince fixes our cyclists, and then we fit them. However, if you have a hip or knee replacement, toe out could be your new normal biomechanics.

STEP 5. CHECK YOUR OWN LEG ANGLE (MAXIMUM OF 150 DEGREES)
A.
B.
C.
D.
E.
Godimeter shown with hand

A—B: Extend your thumb and index finger it gives us an approximate 150 degree angle. Place the web between the thumb and index finger on the widest part of the knee, (Lateral Femoral Chondyle).

C: The index finger will be pointed toward the ankle bone. The thumb should contact the front of the hamstring tendon. This should be approximately 150 degrees.A

D:  If the thumb is behind the hamstring tendon the seat post is too high and you will have more than 150 degrees.

E: If the thumb is in the middle of the thigh the seat post is too low and you will have less than 150 degrees.

D – E: Are either too high or too low.

STEP 6. CHECK YOUR LEG POWER WITH A PLUM LINE
A.
B.

A. The plum line or power cord is placed in the center of the knee cap and drops along the center of the shin bone and through the ankle to the second toe. The shoe float should be straight with slight toe in. (ie: Step 4)

B. If the shoe float is not addressed, and you have a weak inside quad this in turn could stress the medial meniscus of the knee, hip bursa, six deep glut lateral rotator muscles, ITT tightness, Sciatica, and possible Jefferson fracture to the small outside foot bones or neuromas.

Again, shoe float should only be out if there’s been a hip, knee replacement or some other permanent change in biomechanics.

STEP 7. CHECK YOUR SEAT POSITION
Neutral Position
TT Position

The rails should be in a level position for neutral for all bikes except TT*.

If you tilt the nose down to avoid soft tissue discomfort then you will feel like your sliding forward. Which in turn will cause more pressure on your hands, shoulder and neck. This means you need to go back to step 5 to check your leg angle to not exceed 150 degrees.

STEP 8. CHECK YOUR HANDLEBAR STEM LENGTH

At this stage you should have completed Step 1—7. Now you are ready to find your comfortable hand placement on the hoods. This is where the rubber boot of the brakes meets the handle bars. 

 
A.
B.

A.  Proper biomechanics with the proper stem length, seat height and bike size: The cyclist has a slight bend in their arms, 10-15 degrees which relaxes their low back which creates less stress. This reduces the tension on the Latissimus muscle, allowing the shoulders, neck, head to be more up right, giving the cyclist better posture and chest muscles to relax. This allows the cyclists core muscles, (Transverse Abdominal Muscles) to be activated. This will allow a fluid pedal stroke which flows from the bike through the body, shoulder, neck, arms, and hands. Resulting in moving as one with the bike. You are now elevating your Power and Endurance for the “Endless Ride” on your Infinity Seat.

B.  Improper biomechanics, could be caused by a number of things.

1. To long of a stem.

2. Seat post to high.

3. Bike is to small or to big.

4. All the above

The cyclist has their arms stretched out which causes the Latissimus muscle of the low back to pull on the front of the shoulders causing the neck and head to pull down resulting in a rounded back. The chest muscles tighten up resulting in compression of the Brachial Plexus causing numbness and electrical pain in the neck, shoulders, arms and hands.

STEP 9. NO THICK PADDED SHORTS ANYMORE!
A.
B.

A.  We highly recommend wearing compression shorts or a light, thin chamois bike short during cycling to reduce trauma, and permanent injury. For men, really pull up the shorts so your male parts are sufficiently supported. If you continue to ride with thick padded shorts and ride into the drops or the Aero position go back to Step 5.

B.  The thick padded short increases compression on the soft tissue area, and causes the cyclist to drop the nose. If you continue to wear a thick padded short you should drop the seat post 1 – 3mm, and/or slight TT positioning as shown in Step 7B.